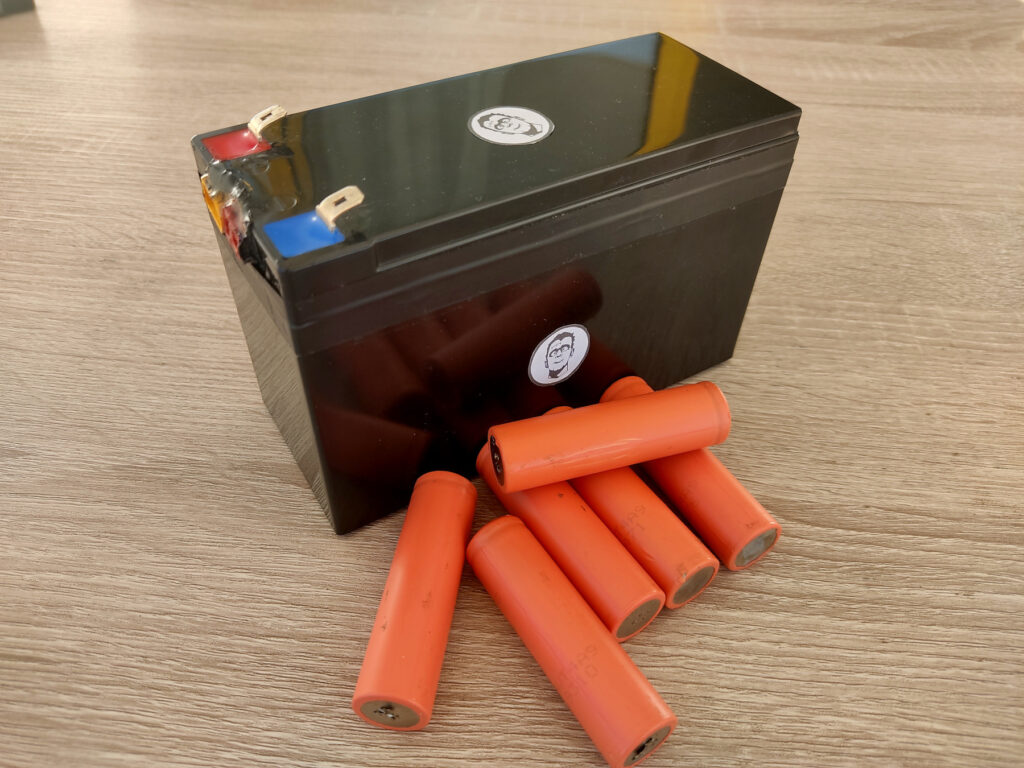
In a world where sustainability is paramount, recycling old laptop batteries to create a powerful 12-volt battery pack is not only an eco-friendly endeavor but also a cost-effective one.
This DIY project will guide you through the step-by-step process of transforming 18650 cells salvaged from old laptop batteries into a functional 12-volt battery pack. The battery pack accumulated energy is enough to power home WiFi routers, charge other batteries and support any 12V device. The battery pack can be charged from 12V power supply or car lighter connector.
Before you begin, ensure that you’ve properly tested and identified healthy cells for this project.
Materials Needed:
- 21 recycled 18650 cells from laptop batteries. You can buy new cells HERE
- Battery Case with cover
- Battery charger and tester
- Rotary tool
- Heat-shrink 18650 cell covers
- Heat-shrink tubing
- Heating gun
- Nickel strips
- Spot welder
- Balance and power leads
- XT60 connector
- Female Deans T connector
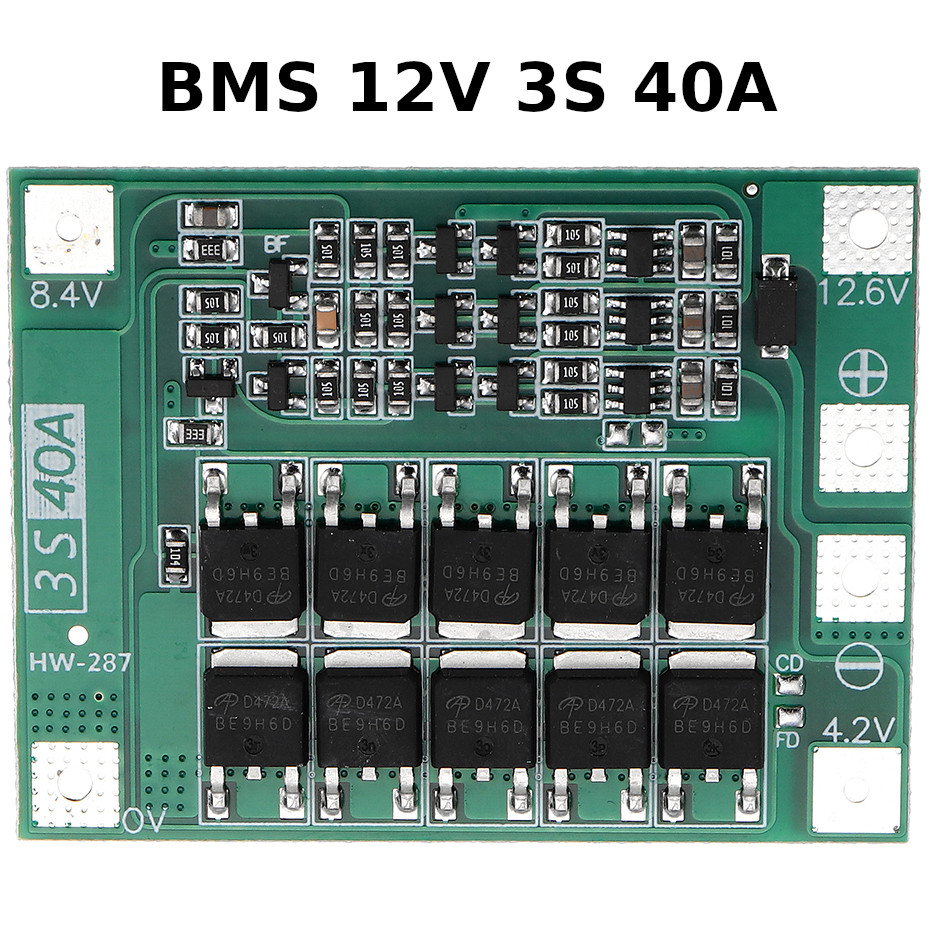
- Battery Management System (BMS) board for 3S 12V 40A(minimum)
- Soldering iron, solder and flux
- Super glue and two components resin
- Electrician tape
You need to be very careful when you working with lithium cells. They store a lot of energy and you can easily start fire if you are not following standard safety rules and precautions. Lithium Polymer and Li-ion batteries are volatile. Failure to follow the below instructions may result in fire, personal injury and damage to property if charged or used improperly.
Step 1: Battery Testing
The first step is to test the recycled 18650 cells to ensure they are in working condition. Charge and discharge each cell individually and set aside the healthy ones for the project. Dispose of any damaged or underperforming cells responsibly.
Step 2: Prepare the Batteries
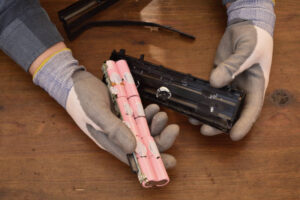
Using a rotary tool, carefully remove any remaining nickel leftovers from the cells. Replace the battery covers with new ones by using a heating gun to attach the new ones securely.
Step 3: Battery Configuration
For this project, we’ll configure the cells in a 7P (parallel) and 3S (series) arrangement. Spot weld nickel strips to connect seven cells in parallel and then connect three sets of seven cells in series, ensuring positive to negative connections.
Step 4: Add Balance Leads
Attach balance leads to the BMS board of each set within the pack. These leads are crucial for maintaining the health and safety of your battery pack.
Step 5: Connector Setup
Wire one XT60 connector and one female Deans T connector to the output terminals of your battery case cover. These connectors will allow you to connect your battery pack to various devices and chargers.
Step 6: Connect power leads to the BMS
Connect the positive and negative leads of the Battery Management System (BMS) board.
Step 7: Prepare the Battery Case
Using a soldering iron or rotary tool, create slots in the battery case for the XT60 and Deans T connectors. These slots will allow you to securely mount the connectors on the battery case cover.
Step 8: Secure Connectors
Use super glue and resin to firmly fix the XT60 and Deans T connectors into their respective slots on the battery case cover. Ensure they are securely attached for safety.
Step 9: Connect the BMS
Connect the BMS to the battery block in the following order: Positive lead, negative lead, 4.2V lead, and 8.4V lead.
Step 10: Solder Leads to the Cover
Solder all the negative leads from the battery pack to the connector on the cover. Similarly, solder all the positive leads to the connector on the cover, ensuring a secure connection.
Step 11: Final Assembly
Add isolation material to all required places – around BMS connectors (Back and Front), under the positive and the negative collecting point at the case cover. Make sure that the battery block is not moving inside the case.
Close the battery case with the cover and secure it in place using electrician tape. Make sure the cover is firmly attached, and all connections are secure.
Congratulations! You’ve successfully created a 12-volt battery pack from recycled laptop batteries. This eco-friendly project not only saves you money but also contributes to a greener future by repurposing old electronics into a useful and sustainable power source.
The person / group of people involving in making the projects presented in this website are solely responsible for their results, good, bad or whatsoever.
When you click on links to various merchants on this article and make a purchase, this can result in the earning of a commission. Affiliate programs and affiliations includes, AliExpress, Amazon and others. Thank you for making these videos possible through your support of Resyclestein.


Thank you, sir.
I installed voltage regulator to the external ports and now I can charge my phone. Create more projects like this one.
Nice. Actually, you can add more ports – for example USB type C or USB 3.0
Do you know what is the C-rate of this battery pack? Is the C-rate number depends on the battery type used for building the pack or to the BMS?
In this project I’m using Sanyo UR18650ZT (R1122) batteries. From the Specifications of this model I can conclude that they are 2C C-rated, because the Capacity is 2650 mAh with Discharging maximum of 5300 mAh ( 2 x 2650 mAh). As I’m using 7 batteries in parallel the total Ah’s of this battery pack are calculated here – 7 x 2650 = 18550 mAh = 18.55 Ah.
The Max Discharge current in this case will be 2 x 18.55 = 37.1 Ah.
For this reason I’m using 40A BMS which fits perfectly for 37.1Ah pack.
You can check the specifications of your 18650 batteries here in this brilliant support page:
https://secondlifestorage.com/index.php?pages/cell-database/
I hope this reply is helping you to understand the C-rate of the project pack.